Workspaces, Projects & Migrations
SuiteMigration is built around three concepts: Workspaces, Projects, and Migrations. Understanding how they fit together is the first thing worth reading if you're new to SuiteMigration, and it makes the rest of the app much easier to navigate.
A quick summary:
- A Workspace groups everything your team works on.
- A Project is a migration engagement for one client company.
- A Migration is a single run that moves data from a source system into a destination system.
The rest of this article explains each one and walks through the typical setup flow.
What is a Workspace?
A Workspace is the top-level container for your team. Every user belongs to at least one Workspace, and everything you create in SuiteMigration lives inside a Workspace.
A Workspace holds:
- Projects: one per client company being migrated
- Members: the people on your team who can access the Workspace
- Audit Log: history of who did what across the Workspace
Projects and Members are always visible in the left sidebar.
If your admin has added you to more than one Workspace, use the Workspace Switcher at the top of the left sidebar to switch between them.
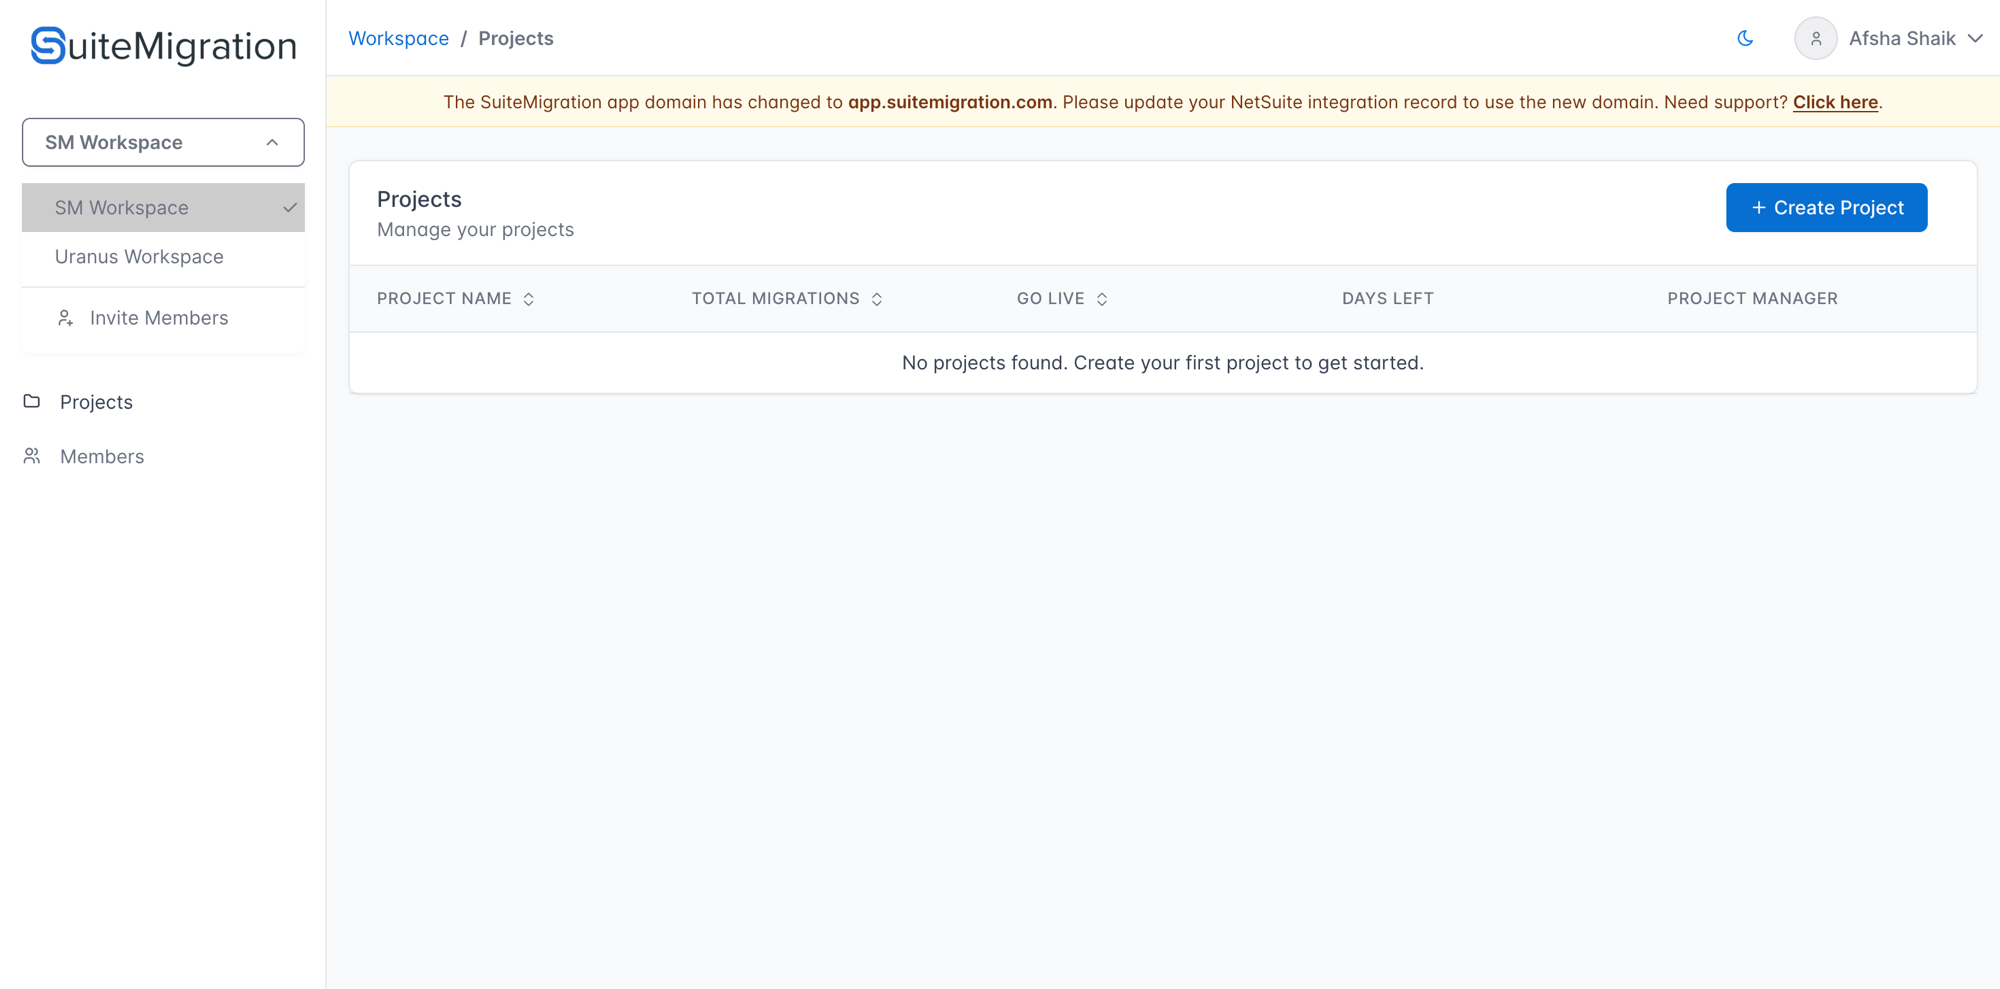
The Audit Log and workspace-rename settings live under Workspace Settings. Open the user menu in the top-right corner and click Workspace Settings.
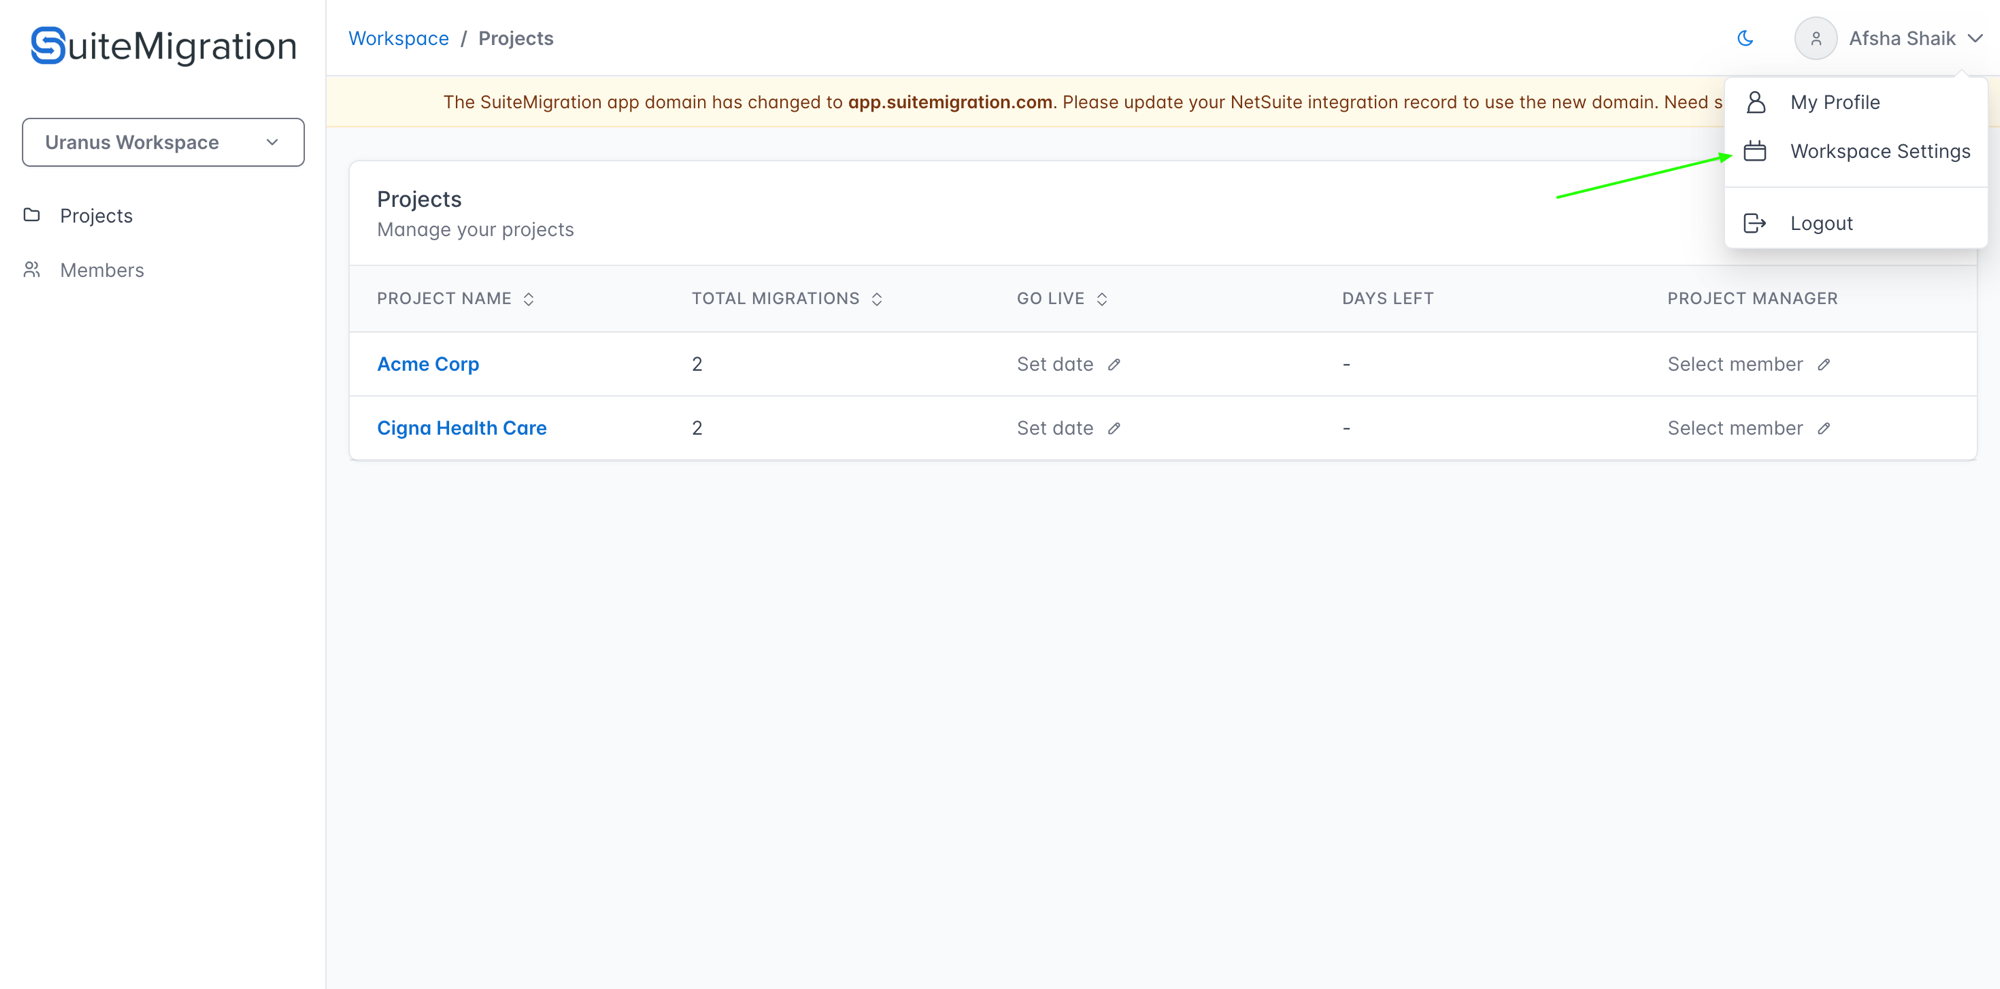
That opens the Workspace Settings area, with tabs for Workspace Info (rename the Workspace) and Audit Log.
What is a Project?
A Project represents one client company you are migrating. Each Project usually maps to one source company (for example, one QuickBooks Online company) and one destination NetSuite subsidiary.
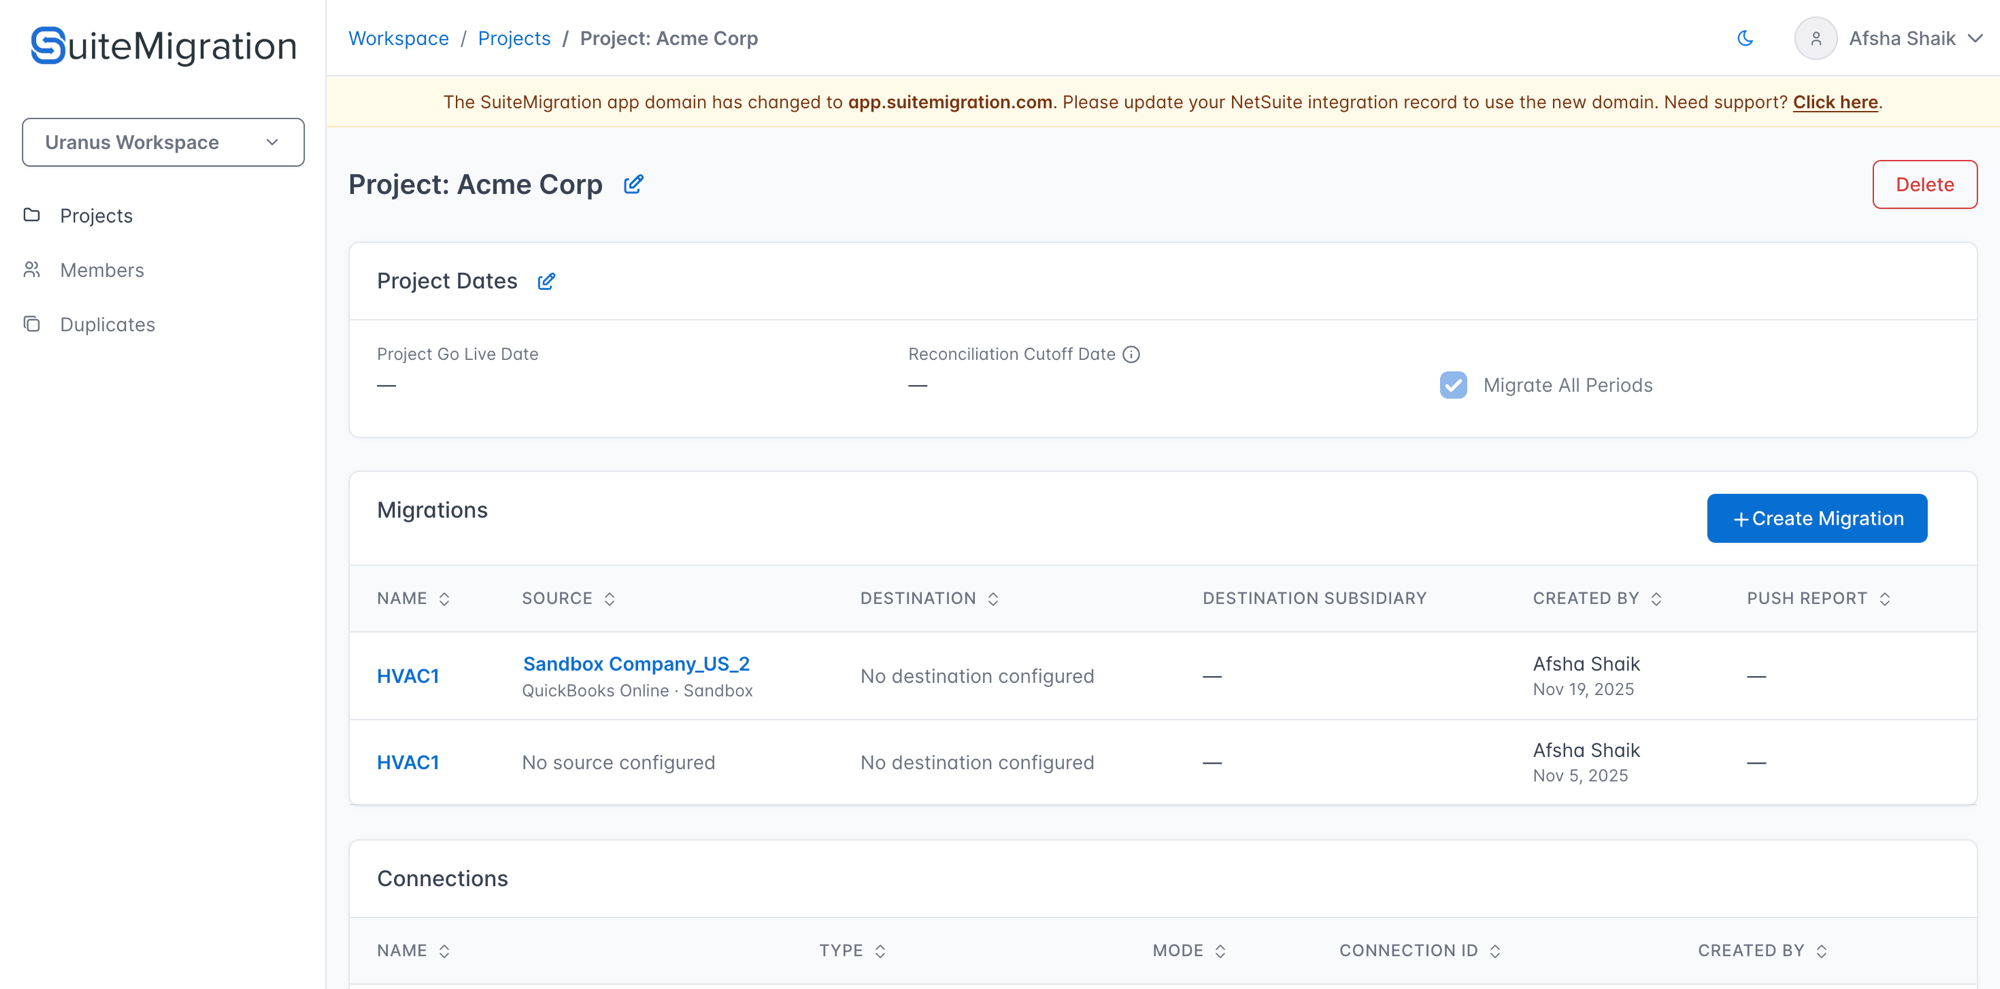
Open a Project to see the following, in order on the page:
- Project Dates: Project Go Live Date, Reconciliation Cutoff Date, and a Migrate All Periods toggle. These scope the periods every Migration in the Project works with.
- Migrations: one or more migration runs (see below).
- Connections: Source and Destination connections shared across the Project's Migrations.
Project Settings is accessible from the left sidebar while viewing a Project. It is not shown on the Project overview page itself. See Project Settings.
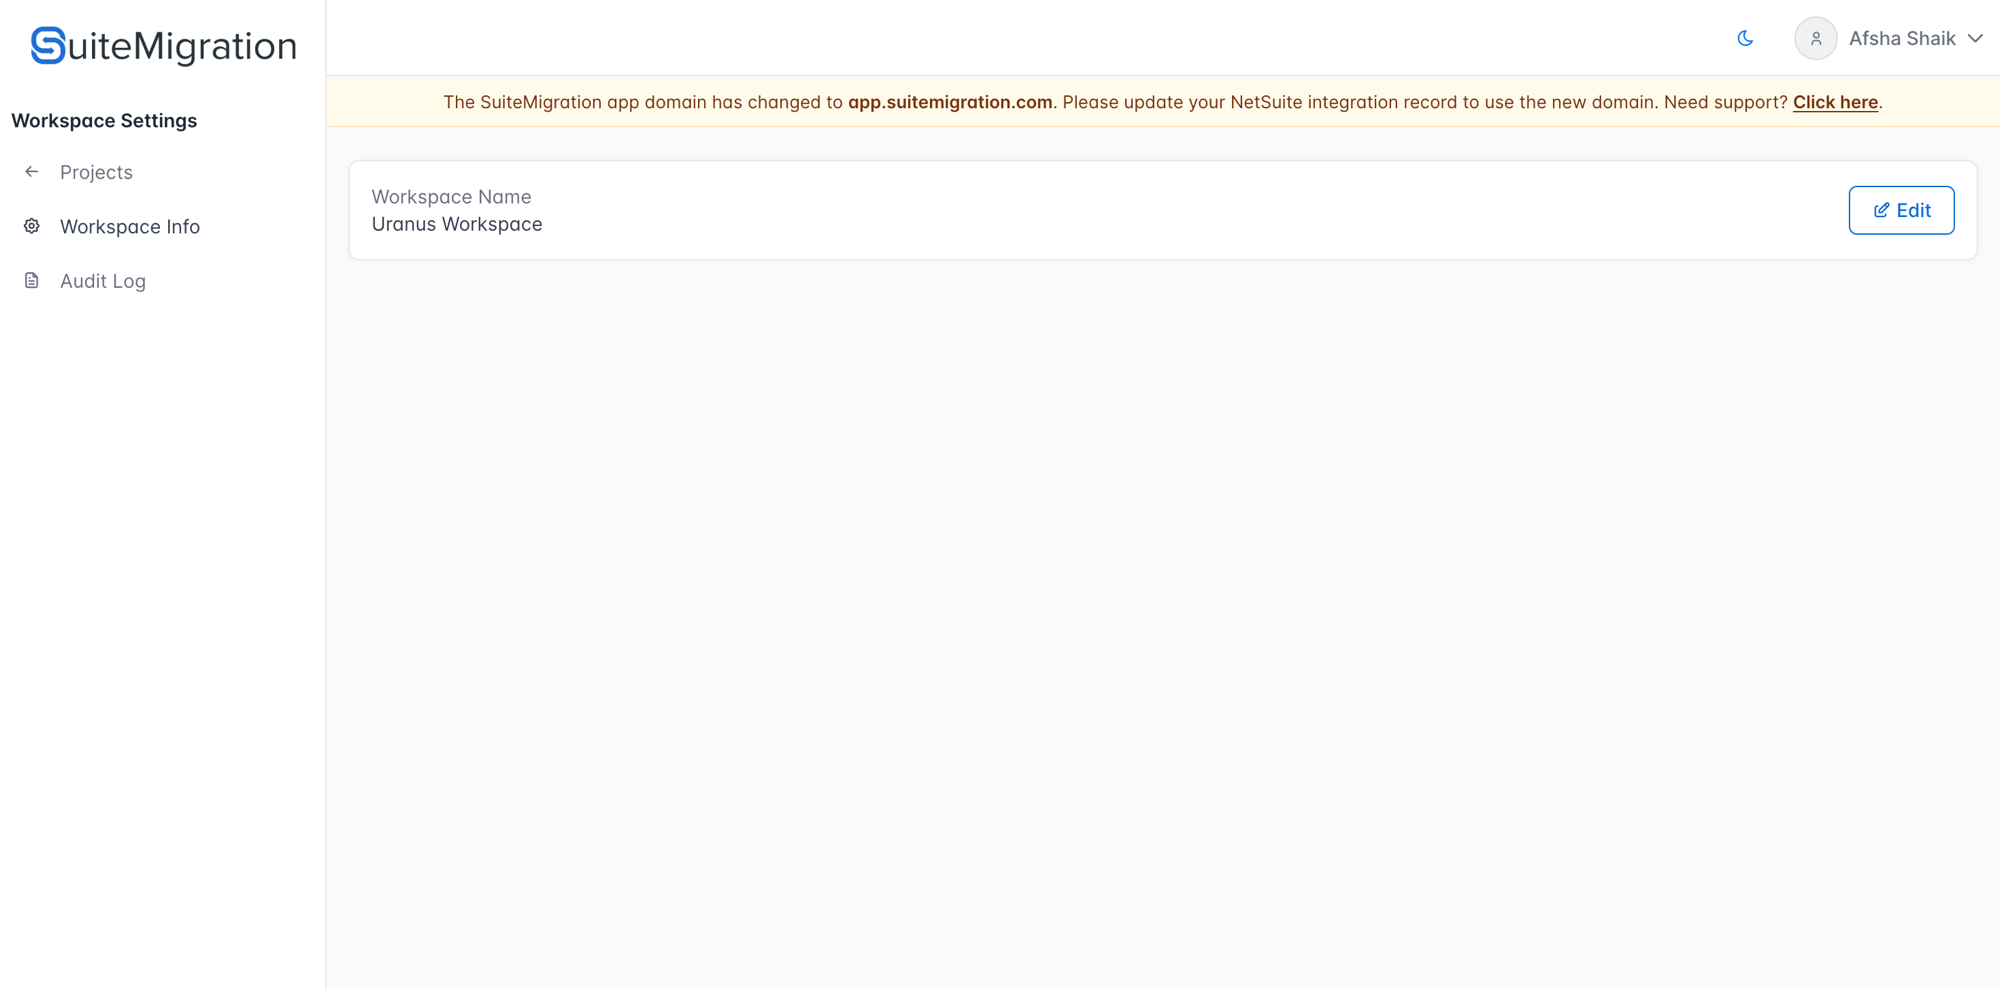
Projects are listed on the Projects page. You can rename or delete a Project from the Project overview.
What is a Migration?
A Migration is a single run of pulling data from a source and pushing it to a destination. A Project can have one or many Migrations, depending on how you want to segment the work (for example, one Migration per fiscal year).
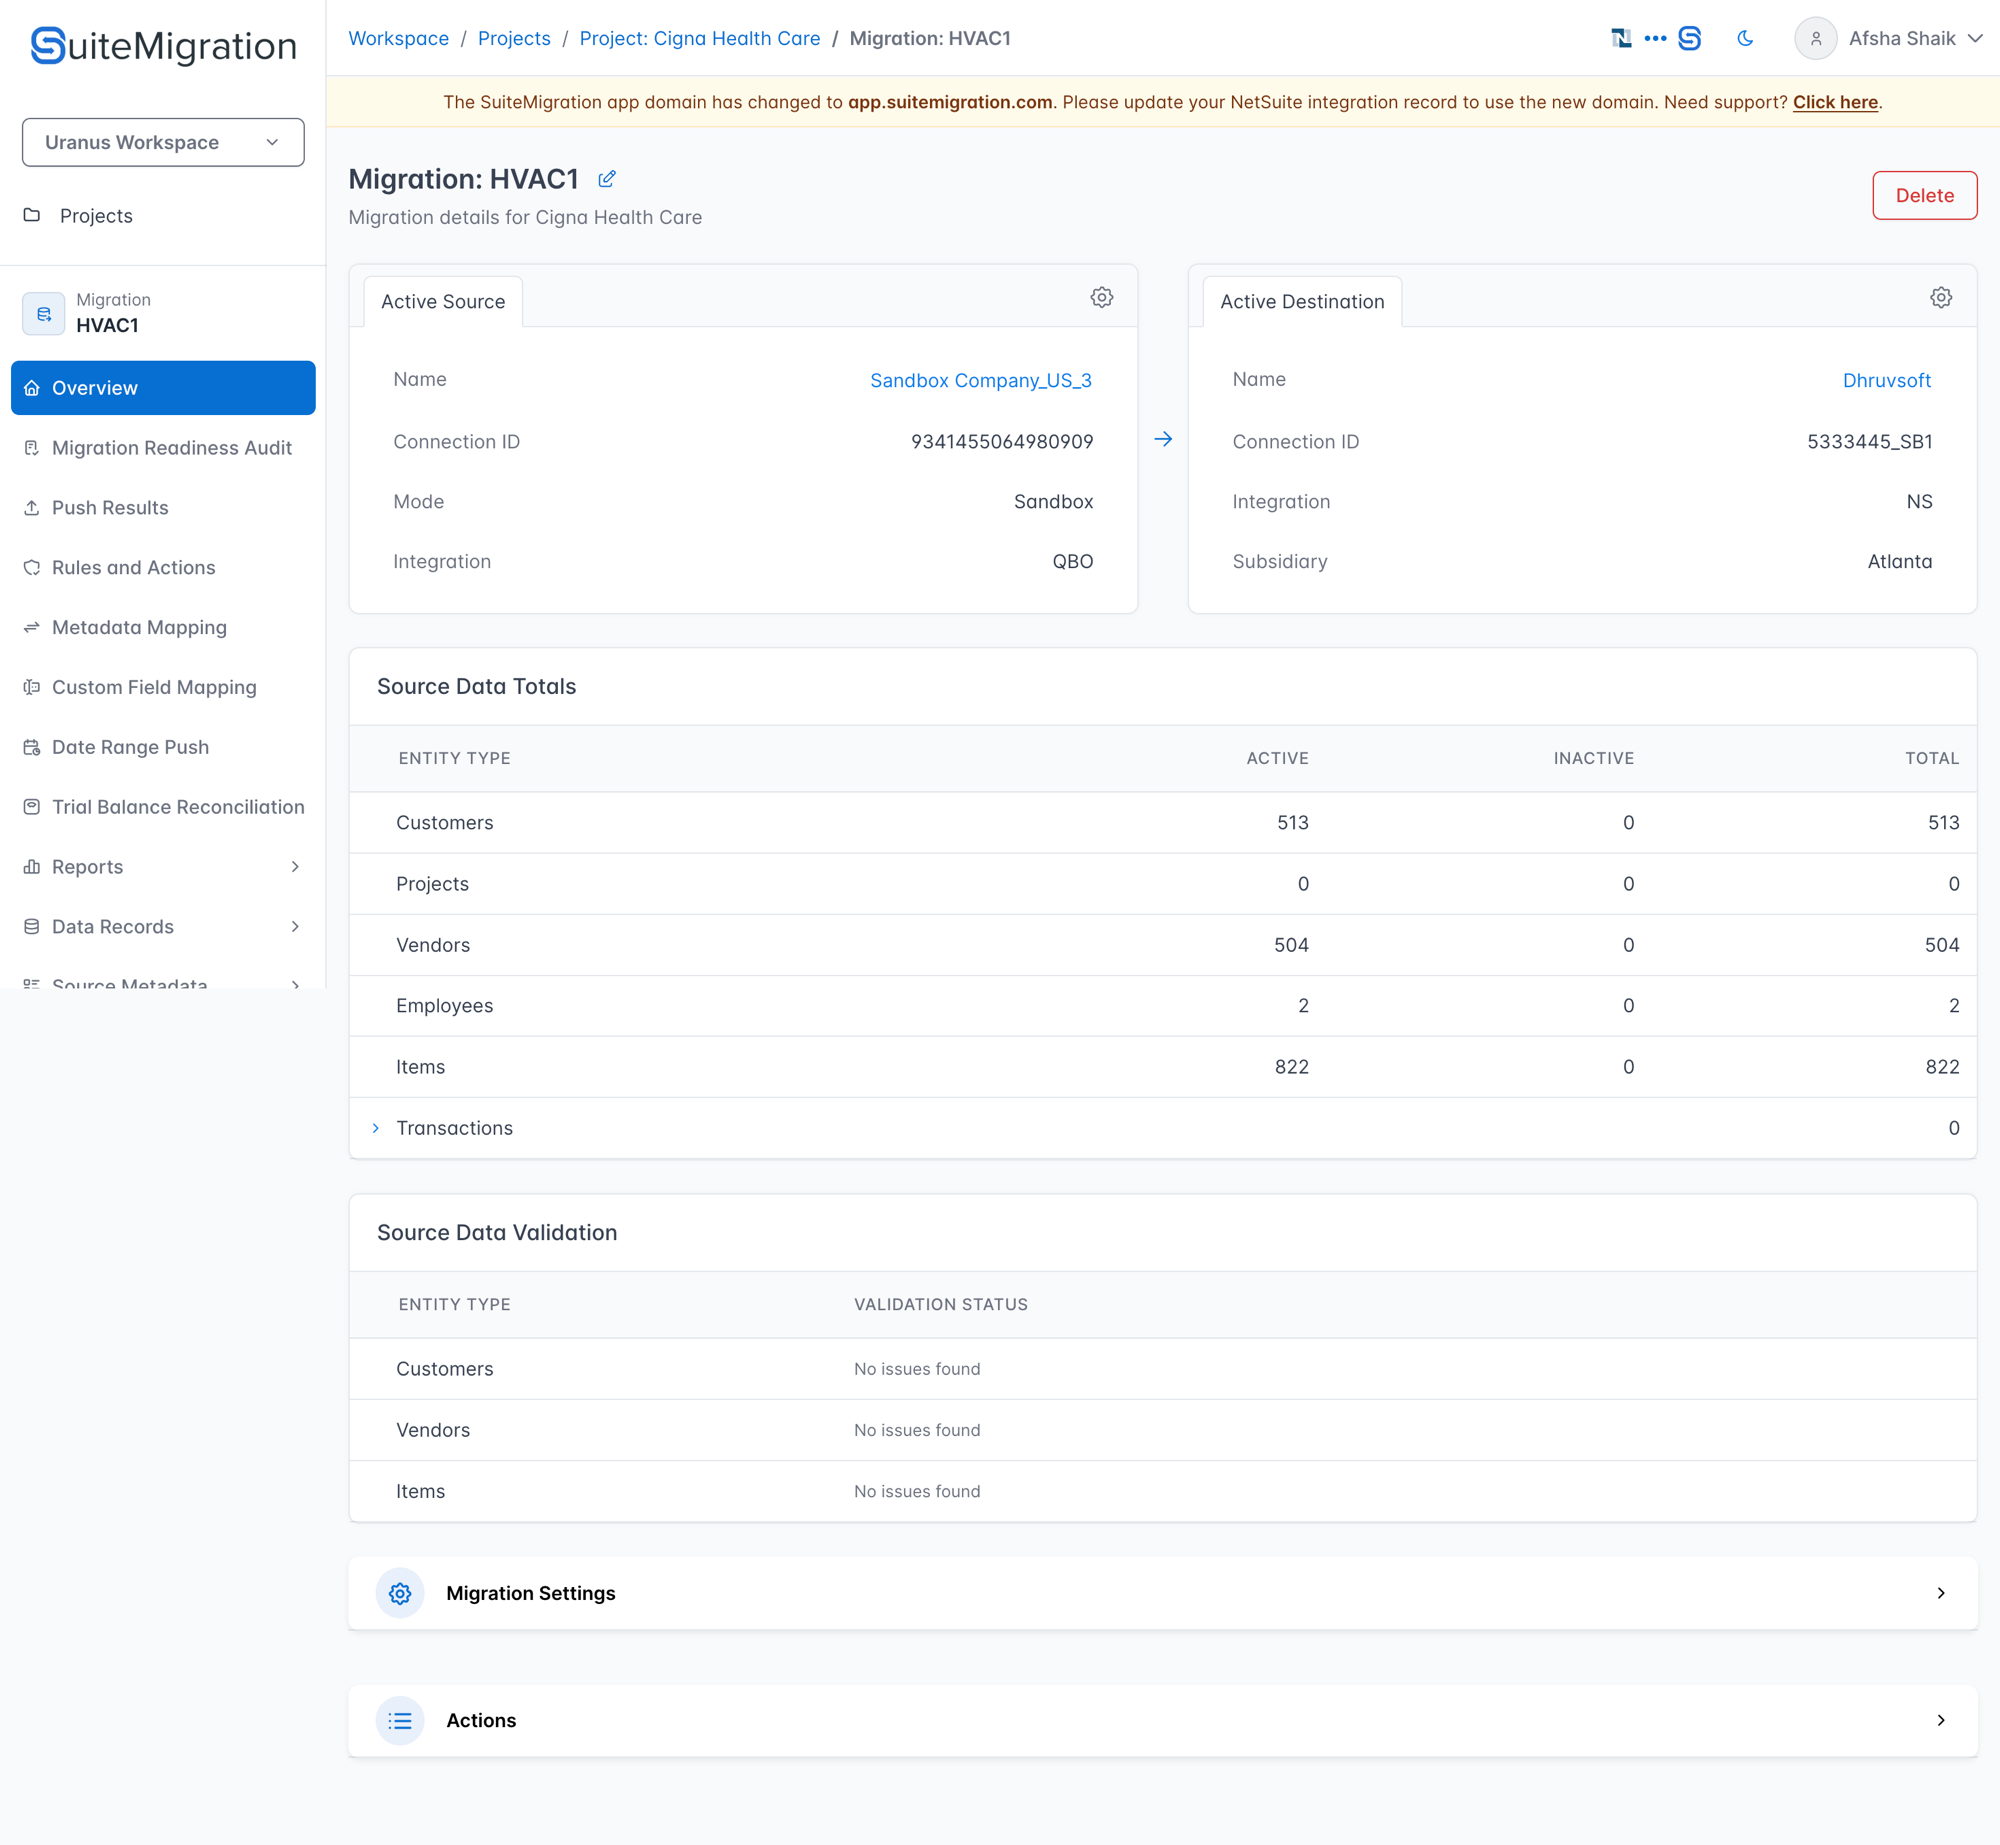
The Migration overview page brings everything about a single migration into one view. In order down the page:
- Source and Destination connection cards at the top, with a rename and delete for the Migration itself in the header
- Sync Errors (shown only when there are recent sync failures)
- Source Data Totals: a trial-balance-style summary of what was pulled from the source
- Source Data Validation: validation counts across the source data
- Migration Settings (expandable card, see Migration Settings)
- Actions: shortcut menu including Download All Reports
From the Project overview, the Migrations section lists every Migration under the Project.
The typical flow
Here is what a new user does to get set up.
Sign in to your Workspace
Your Workspace is created automatically the first time you sign up. If your admin has added you to more than one Workspace, use the Workspace Switcher at the top of the left sidebar to switch between them.
To invite teammates, open Members in the left sidebar (or click Invite Members inside the Workspace Switcher).
Create a Project
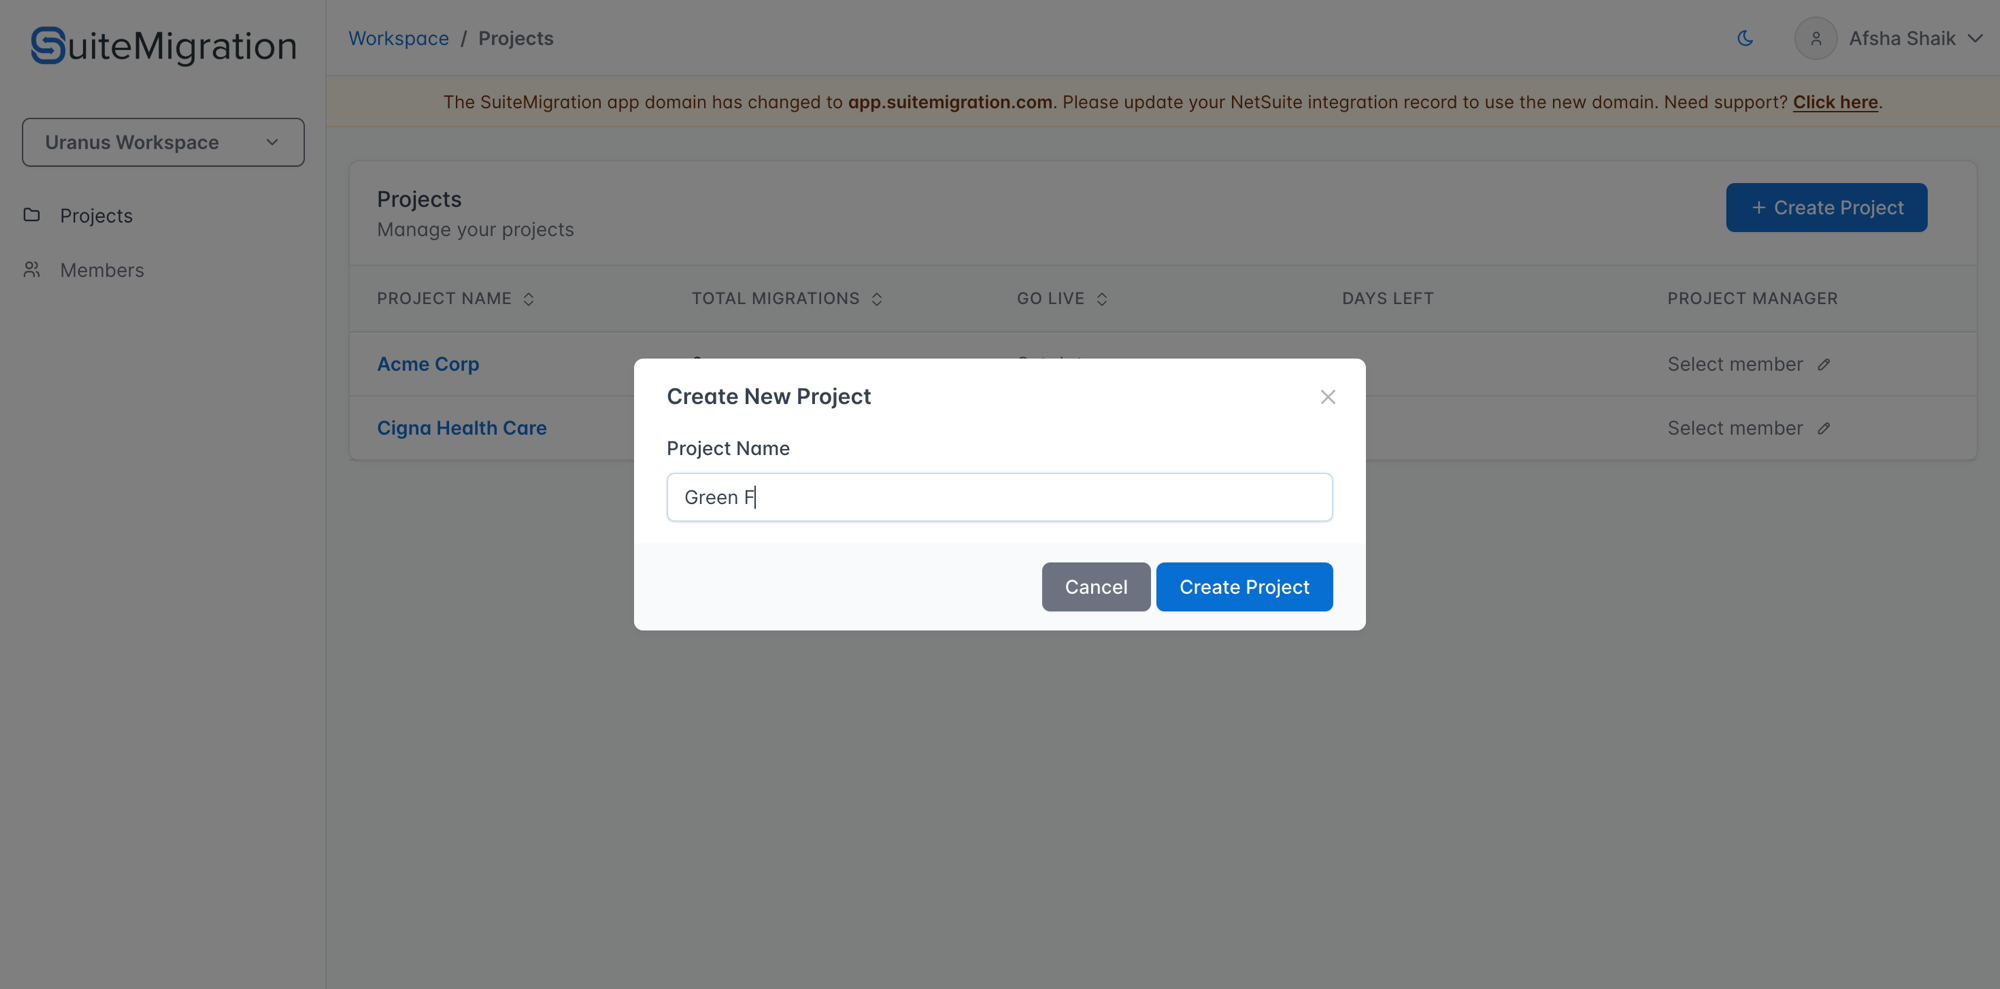
- On the Projects page, click + Create Project.
- In the Create New Project modal, enter a Project Name (usually the client company name).
- Click Create Project. You are taken to the new (empty) Project page.
Create a Migration inside the Project
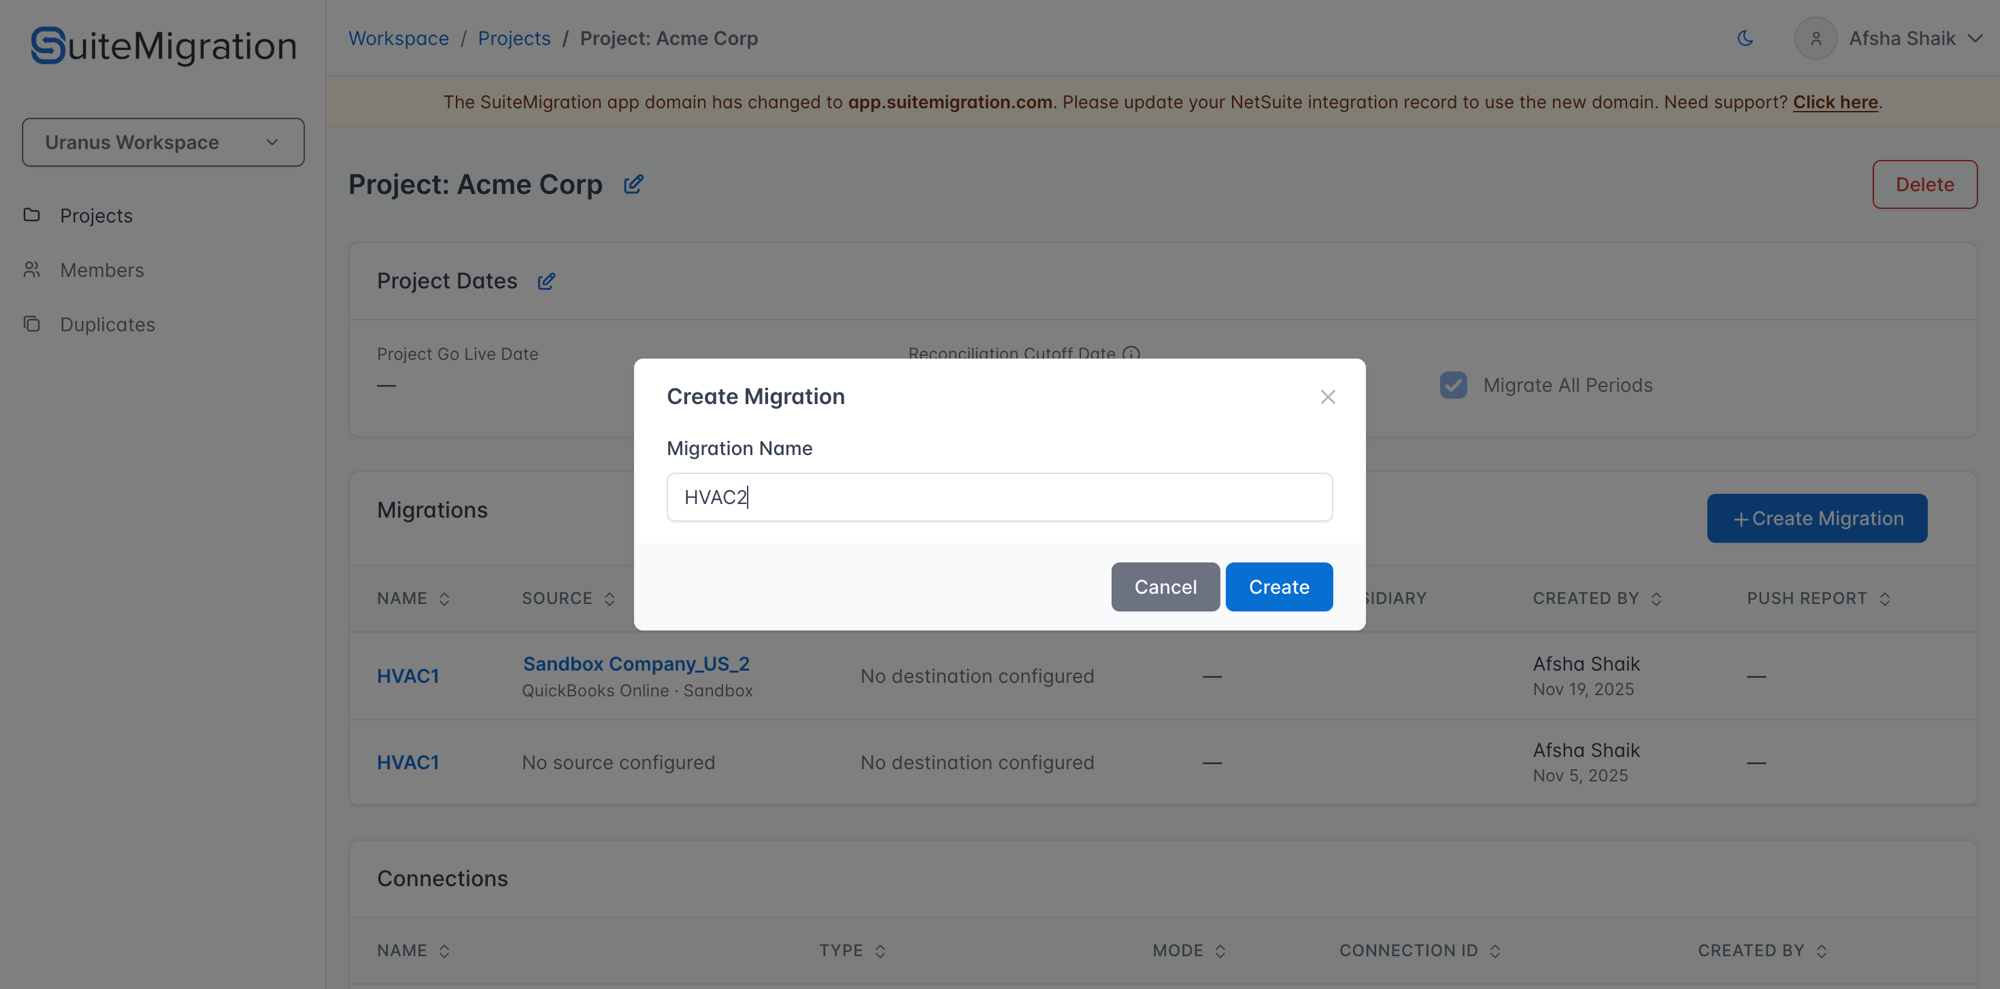
- On the Project page, in the Migrations section, click + Create Migration.
- In the Create Migration modal, enter a Migration Name (for example, "HVAC1" or "FY2024").
- Click Create. The new Migration opens.
Connect a Source and a Destination
Inside the Migration, connect at least one Source (QuickBooks Online, Xero, and so on) and one Destination (NetSuite). Once a Source is connected, SuiteMigration automatically starts syncing its data and the Migration's entity pages populate as records come in.
- NetSuite: see Connect to NetSuite.
- Other sources have their own connection flow on the Source card.
Configure settings
Before pushing, review the settings that apply to your migration:
- Project Settings: workers, batch sizes, NetSuite custom fields, default A/R account. See Project Settings.
- Migration Settings: tax schedule, COGS account, override document numbers, and more. See Migration Settings.
Map metadata and accounts
Open Account Mappings in the left sidebar to map source accounts to NetSuite accounts. Fill in Metadata Mapping on the Migration so other source values are translated to destination values on push.
Push to destination
From each entity page (or the Date Range Push page) push records to NetSuite. Monitor push status per record and use the reconcile and validation reports to confirm the results.
Where to go next
If you get stuck, email support@suitemigration.com.